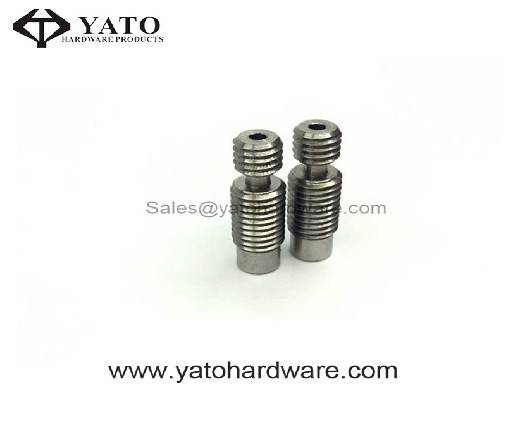
CNC precision machined parts have the characteristics of lightweight, material saving, and compact structure. At the same time, this feature is also widely used in the automotive industry. However, the processing of thin-walled parts is a more difficult problem in turning. It has poor rigidity and weak strength, and is easily deformed during processing; it is not easy to ensure the processing quality of parts. How to improve the processing accuracy of thin-walled parts will be a topic of increasing concern in the industry.

Stainless Steel Heartbreak
For thin-walled parts to be processed by CNC turning, it is necessary to test the workpiece clamping, processing route, programming, etc., which can effectively overcome the deformation of the thin-walled parts during the processing and ensure the processing accuracy . There are many factors that affect the machining accuracy of CNC milled parts, but they can be summarized in the following three aspects: easy clamping and deformation: due to the thin wall of the workpiece, it is easy to deform under the action of clamping force, which affects the dimensional accuracy of the workpiece And shape. Easily subject to thermal deformation: due to the thinness of the workpiece, the cutting heat will cause thermal deformation of the workpiece, making the size of the workpiece difficult to control; easy to vibrate deformation: under the action of cutting force (especially radial cutting force), it is easy to produce vibration and deformation, affecting the workpiece The dimensional accuracy, shape, position accuracy and surface roughness.
From the analysis of the processed surface, due to the normal surface roughness and no vibration caused by vibration, it can be ruled out by vibration; changing multiple stress points and compression points, no improvement; considering that heat may affect it, at various times The size of the product is measured at the point, and there is a slight change in the size, but increasing the flow rate of the coolant fails to eliminate the ellipse phenomenon.
In order to eliminate the spindle runout and the unevenness of the three equal-height positioning blocks of the five-axis precision processing plant, the magnetic table seat was sucked on the tool holder to detect the spindle runout of the lathe and found that its radial runout was only 0.002mm, which was in line with normal runout. range. In addition, the positioning surfaces of the three contour blocks are cut on the machine body.